


 Today, you are going to learn how to draw Mickey Mouse. This cute character was born in 1928(!) and I would not exaggerate if I say that Mickey Mouse is the most famous anime character in the world.
Children love Mickey and adults love Mickey. Don’t you think it’s just fascinating?
What is it on Mickey Mouse that almost everyone gets into a hypnotic trance when seeing him?
Being very honest, it is not the children, but adults who want to go to Disneyland…,yes, including me of course.
Every time I cross the gates of Disneyland I become totally “crazy” - just as if I’d enter into another realm.
There are thousands of anime, manga characters but Mickey Mouse is and probably always will be The Mickey Mouse.
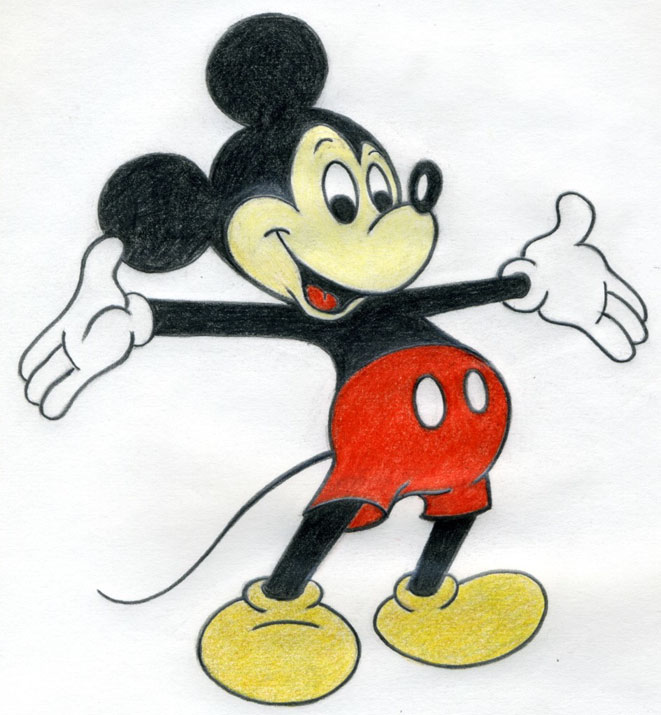
Today, we have him beautifully computer-graphic colored but in 1928 when it was released for the first time as Steamboat Willie Mickey was only black and white.
Now, I will show you the process of how to draw Mickey Mouse in few very simple and easy steps. Follow these steps and occasionally refer to written instruction too.
You are going to love this!
click the image to enlarge
The first step is – as always – careful observing. Look at him! Just click and look at him! Mickey stands but his body is not up straight. His body creates a reversed “C” letter.
Observe the following points:
click the image to enlarge
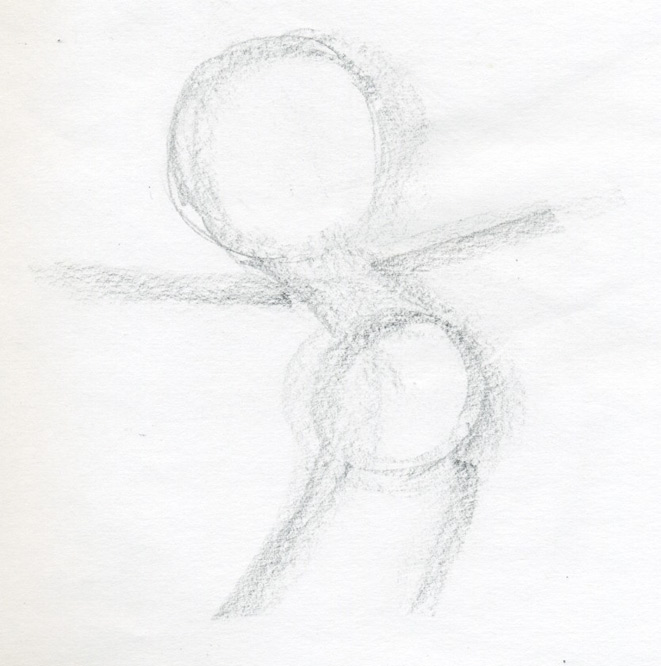
Hold your pencil tilted and just without any deep thinking, simply draw the head, prolonged neck (body), belly and the limbs.Notice how the hands are lifted very slightly upward. The legs are also not exactly straight but oriented backwards to form a reversed “C” character. OK, so this initial sketch looks like nothing, almost grotesque, yet it will be a very important guide to draw Mickey Mouse. This simple sketch sets the basic position and form of Mickey’s body. 
click the image to enlarge
Draw contours of the ears, the nose and mouth. I think you instantly feel how easy it is now to draw when you have ready the basic body position guidelines.Do it all only by very weak and gentle pencil lines. Do not push the pencil on the paper (!), yet. You will do a lot of erasing work from now on so make the pencil strokes soft and weak to erase them easily later. 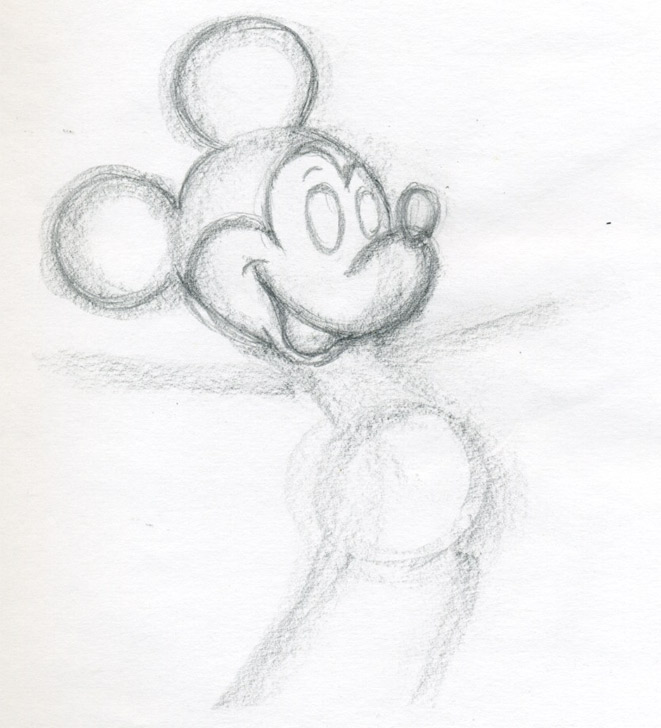
click the image to enlarge
Mark out and specify a bit more the face features. Tip of the nose, smiling opened mouth, the eyes and the curved contour above the eyes.Leave the initial wide pencil lines untouched, just draw over them new lines. You still need the initial guidelines. Put a piece of paper under your hand that holds the pencil, in order not to blur the drawing when your hand rests on the paper. 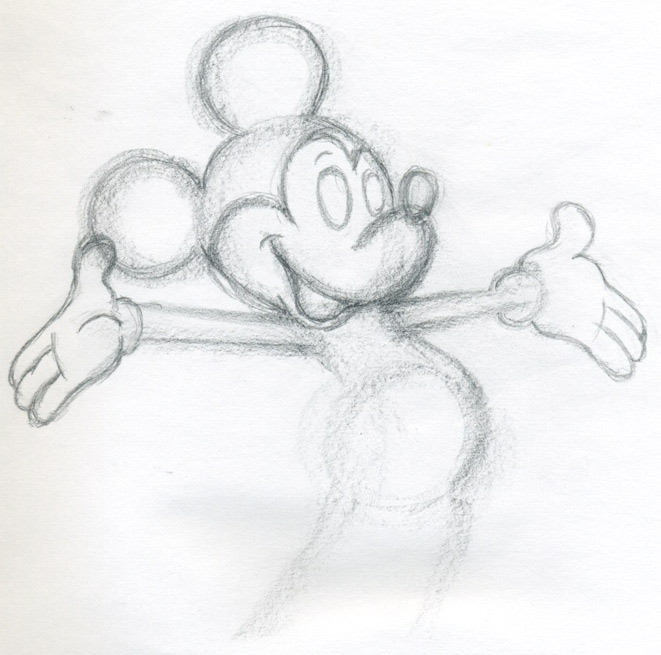
click the image to enlarge
Time to draw the hands. Observe the ready drawing above again and, see carefully the length of both hands. See the proportion - length of the hands to the size of the head of Mickey Mouse.When drawing smaller body parts like palms, eyes, mouth, etc, you can hold your pencil as usual – writing grip. Be very careful however; draw only weak and soft lines! The shape of the character gradually starts to emerge. It is a wonderful feeling while you draw Mickey Mouse, to see, how it comes out gradually on the paper. 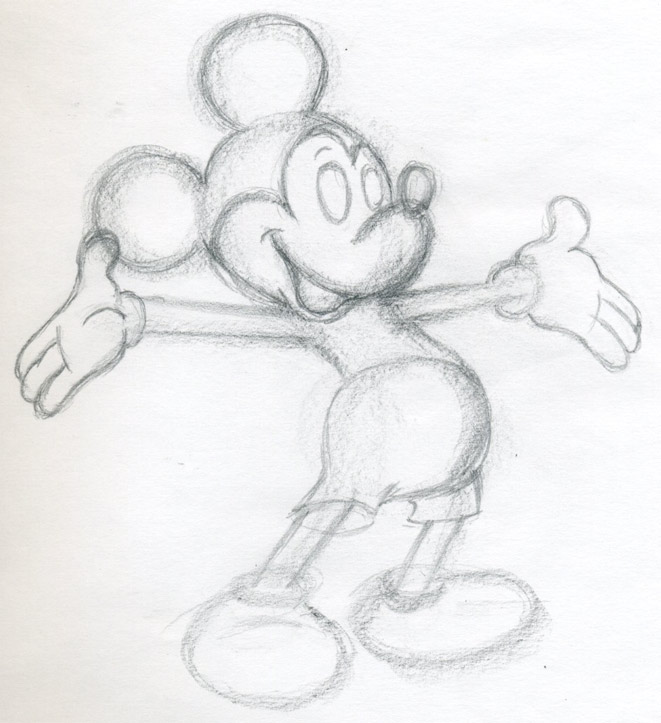
click the image to enlarge
Draw the pants, the legs and outline contours of Mickey’s shoes.
click the image to enlarge
Now you can draw the final body contours. Erase excess lines as needed. Add two buttons on pants and detail in the eyeballs.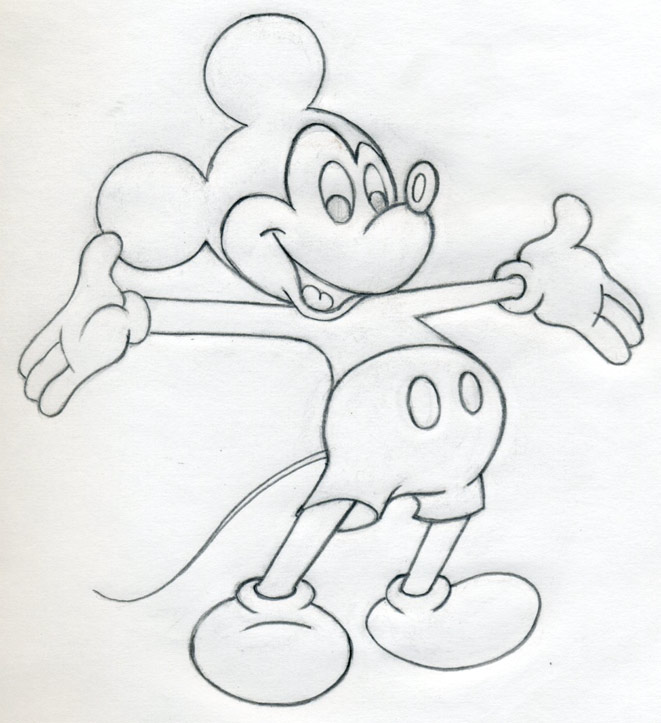
click the image to enlarge
Draw Mickey’s tongue and the ellipse on his nose, which will remain white. Finally he also needs a tail! At this stage, you have a Mickey Mouse coloring page ready. 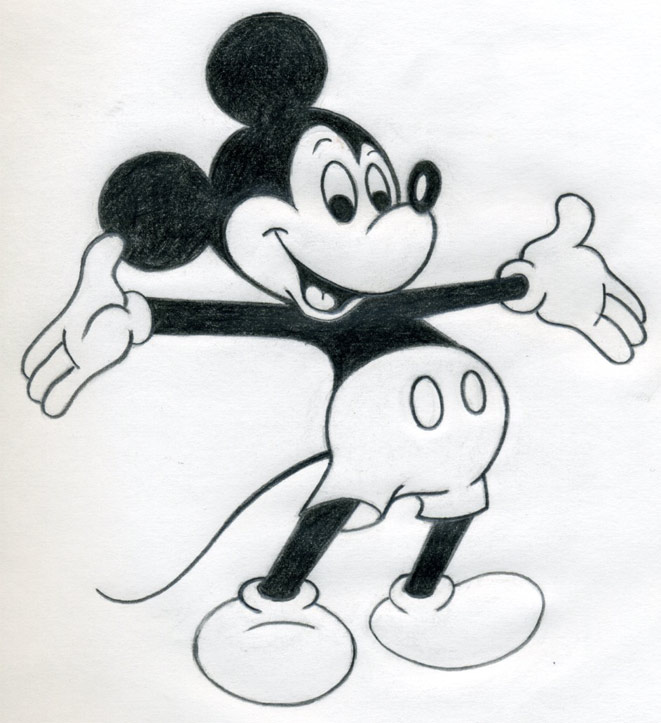
click the image to enlarge
Start to color the black parts first. You can do it by a very soft pencil (2B, 4B or softer) or black color pencil. Graphite of ordinary pencil will remain shining, which is not always nice so make a graphite pencil test on a separate paper first, to see how it shines.
click the image to enlarge
I did the coloring by colored pencils but you can color it with pastels, water or acrylic colors as you wish.OK, I think you did very job so far. Most importantly now you know the basic steps of how to draw Mickey Mouse. |
