


I hope that my simple guide of how to draw an elephant may contribute a little to elevate the consciousness about this beautiful animal.
What is the difference between seeing animals in pictures and drawing animals?
Drawing animals makes you more conscious about their existence and beauty.
Drawing them by pencil on the paper makes you totally involved and participating on the process of creation.
Don’t you think that it’s incredible?
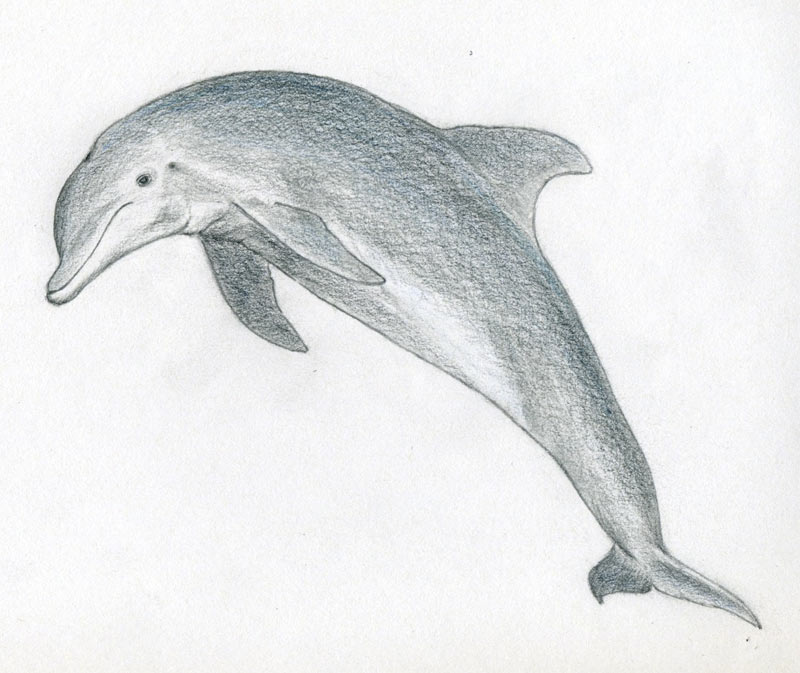
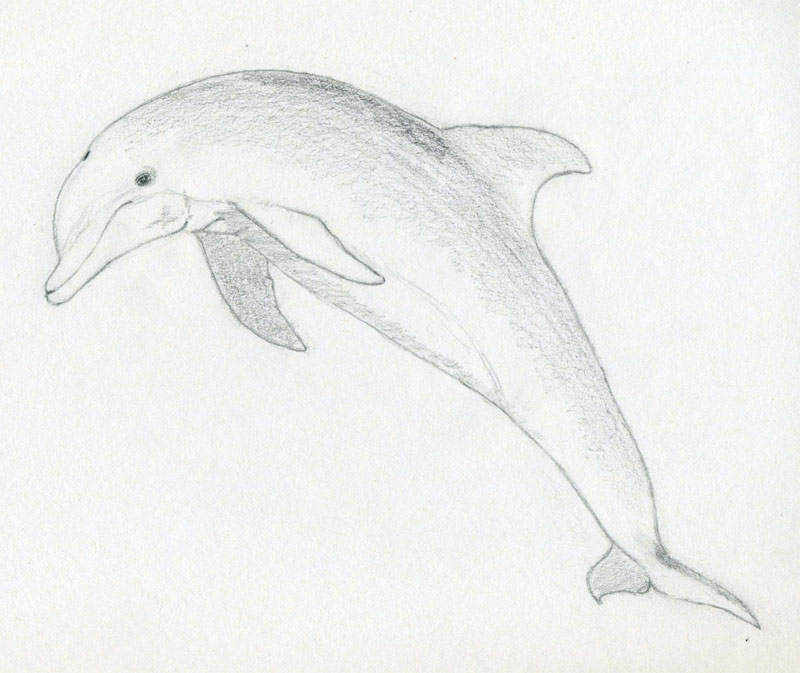
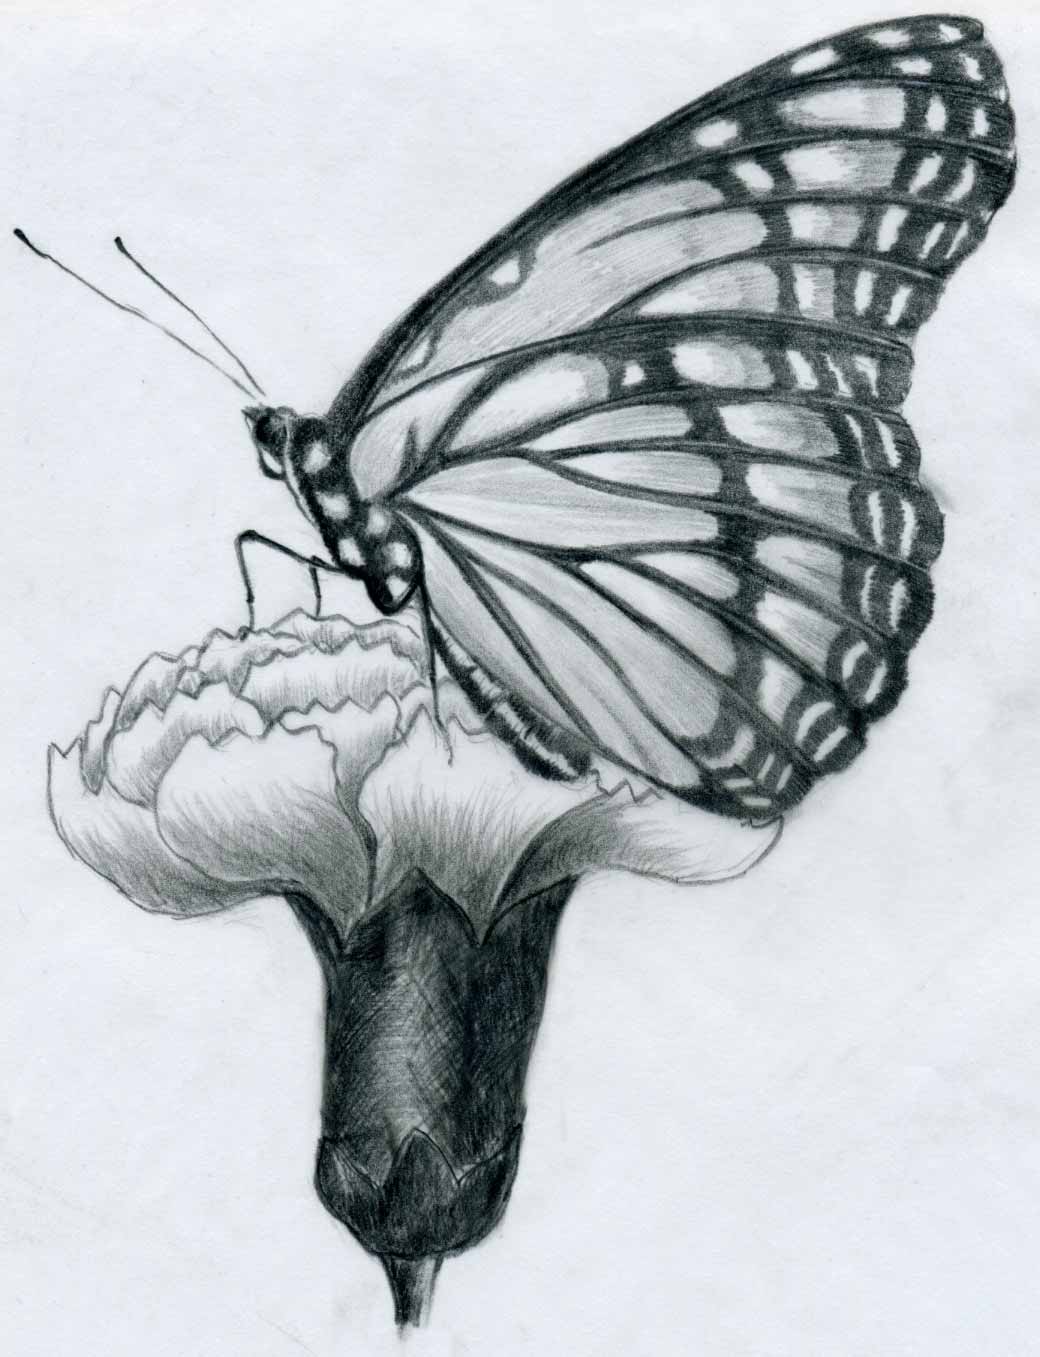
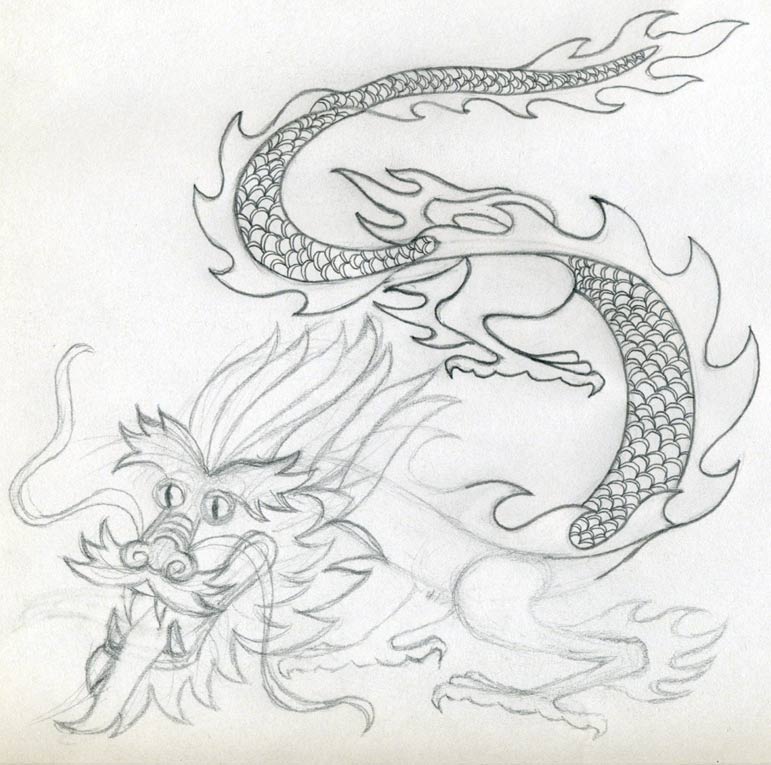
Let’s take a quick look at this elephant drawing.
Please keep in mind that it is a finished drawing. It may look like too complicated with its wrinkles, shades, etc.
Please ignore such details for now. We shall come back to these later during the drawing process.
Now just let me guide you and you’ll see to your own amazement that you can actually draw even better elephant than this one.

I would however encourage you, to draw this elephant directly from your computer screen.

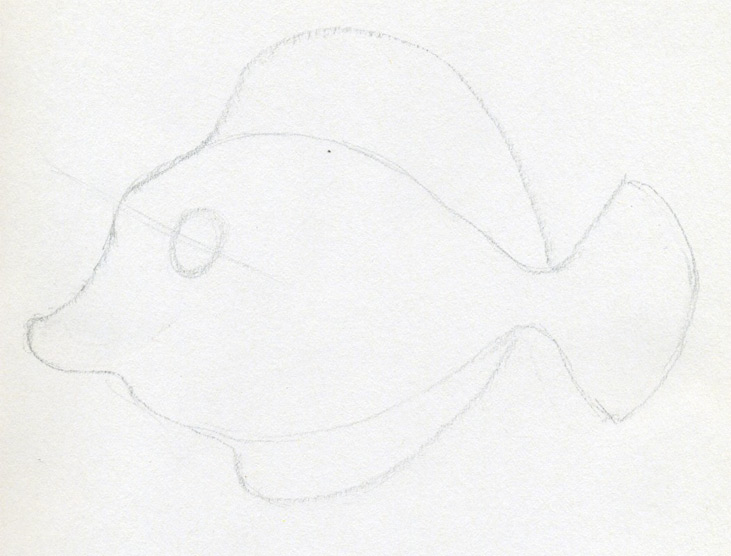
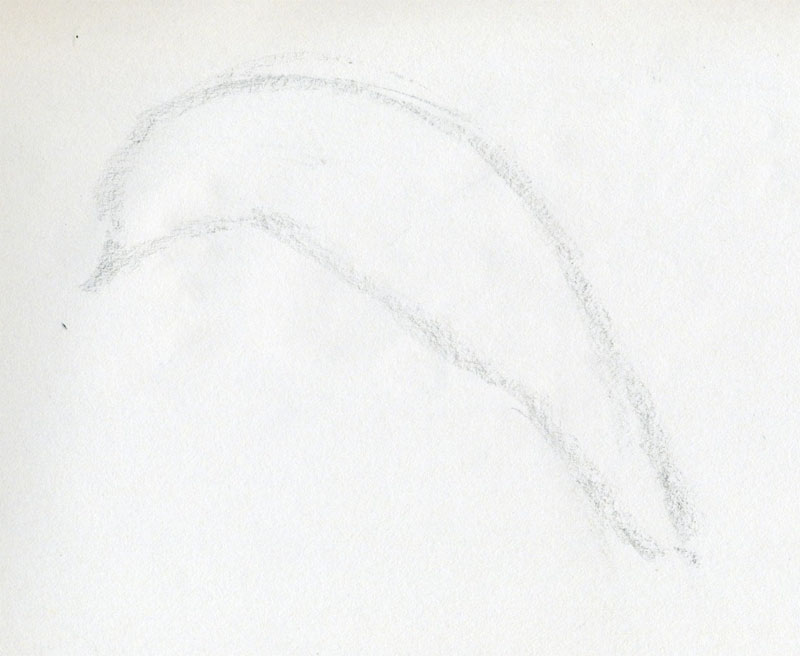
Think of this elephant as a huge snowman consisting of 3 circles in horizontal position walking on four legs.
The only difference is that we will adjust the 3 circles that represent the body parts.
In your mind divide the elephant’s body into 3 main volumes. The biggest one is the belly, middle one is the part of elephant’s shoulders and the smallest one is the head.
Basically, when you capture these 3 volumes right, you’ve got the elephant’s body balance right.

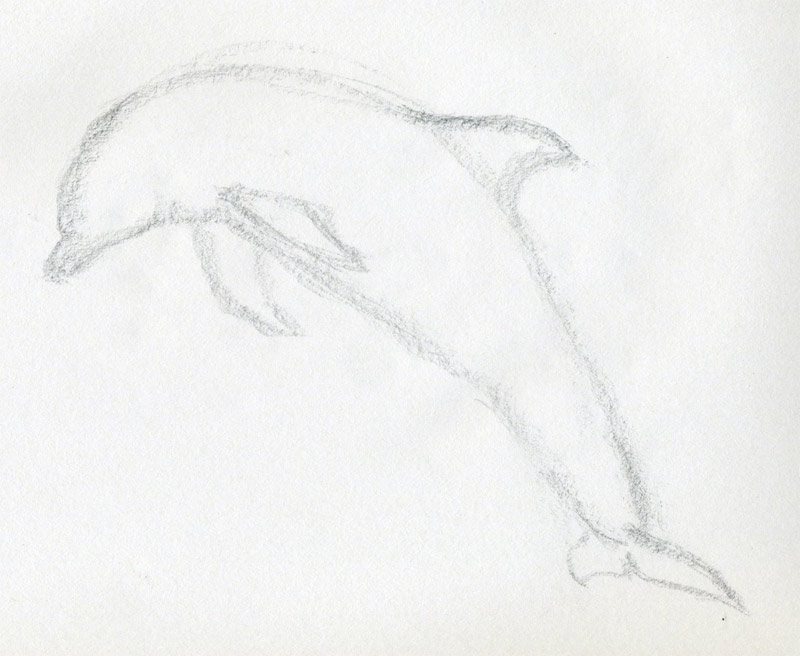
This is a dynamic picture which means that the elephant is walking. Elephant is in motion.
The front legs extend directly from the middle – shoulder ellipse. Draw the outline contours of all four legs.


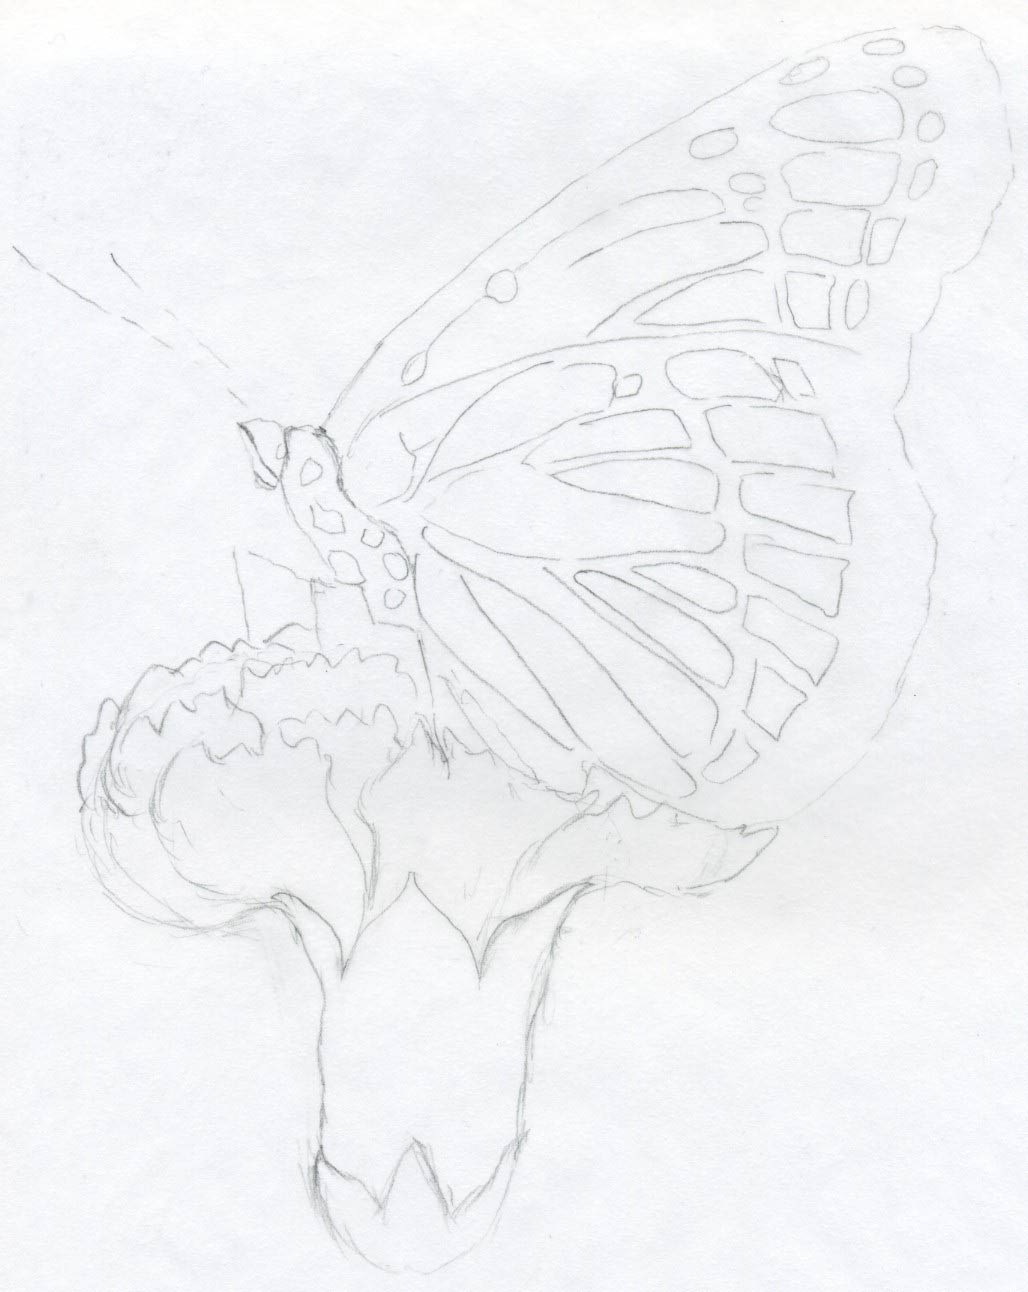
Do you realize that at this stage, you already know how to draw an elephant? You have almost perfect contours of an elephant’s body.
I say almost perfect, because there probably are some small details we are going to correct as we go.


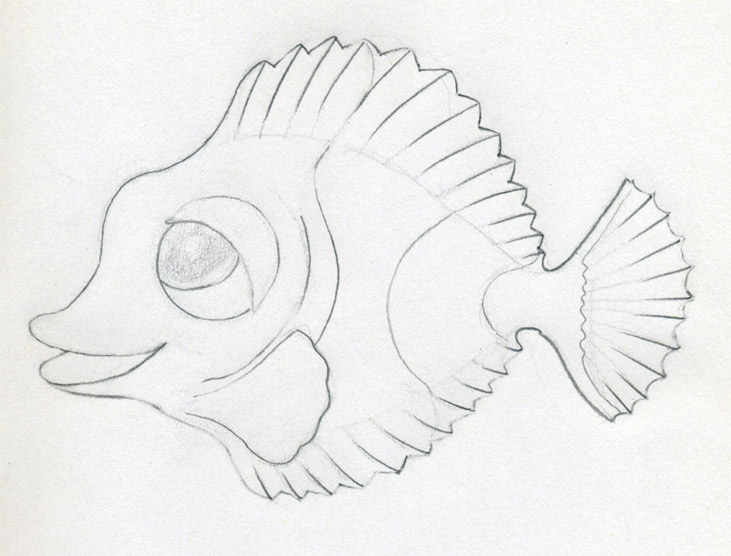
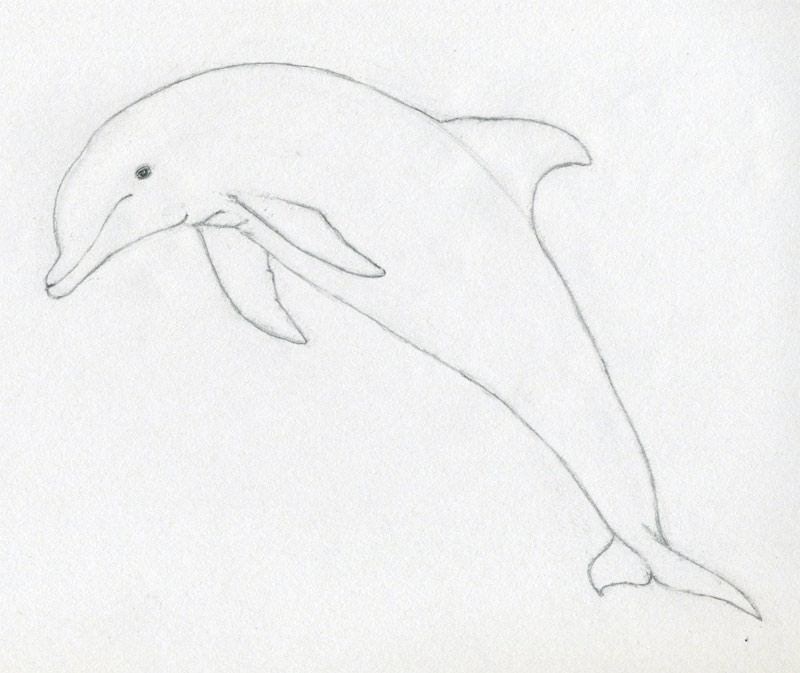
If you observe carefully, you easily notice that I slightly moved up the place (height) where the tusks come out from the head.
I made this change in order to re-balance the size of the head to the rest of the body.
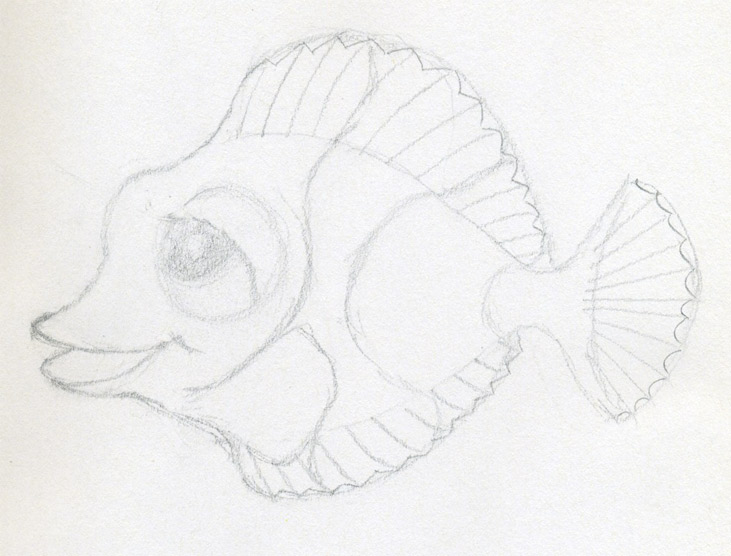
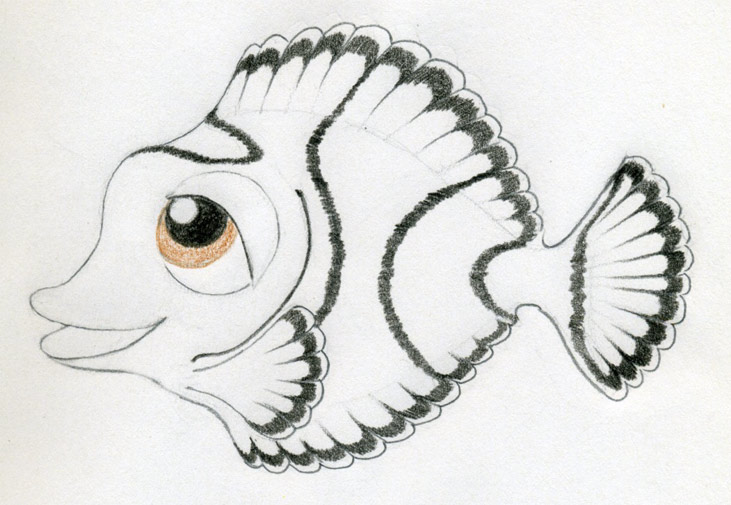
Add the elephant’s eye. Enlarge the picture and see how the eye looks like. While you draw the eye, please leave the small highlight on the eye pupil.
Every living thing has such reflection of light in its eyes and it looks more natural. The highlight creates that spark in animal’s sight. It is very important feature of elephant’s individuality.
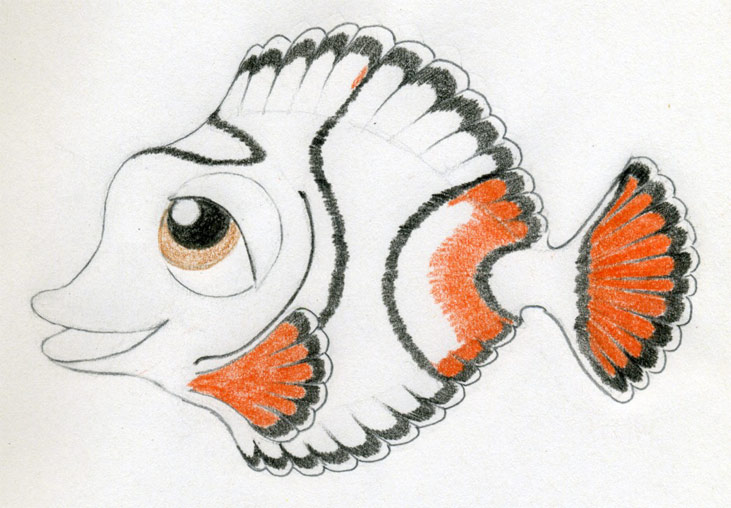
You can also finish your drawing here if you want, copy your drawing and make it a coloring page.

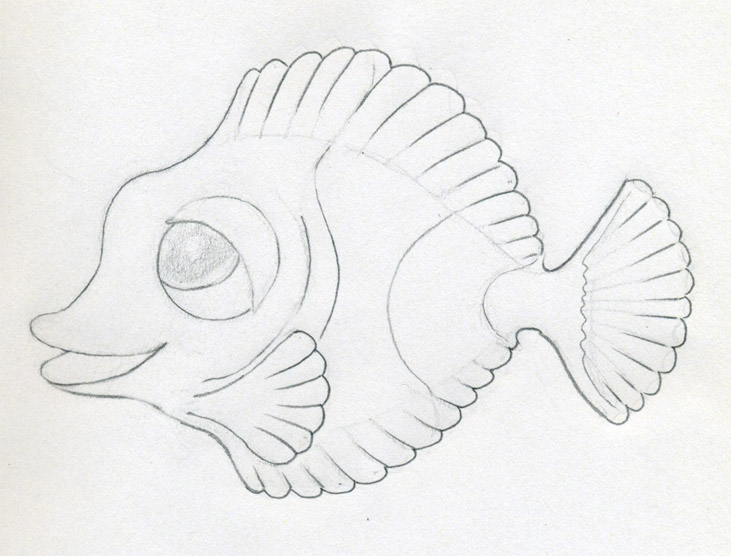
It is not necessary to draw the wrinkles exactly as I did but you should direct them on your drawing roughly in similar directions.
Refer again to the readymade picture and sketch the body wrinkles.
What is the difference between seeing animals in pictures and drawing animals?
Drawing animals makes you more conscious about their existence and beauty.
Drawing them by pencil on the paper makes you totally involved and participating on the process of creation.
Don’t you think that it’s incredible?
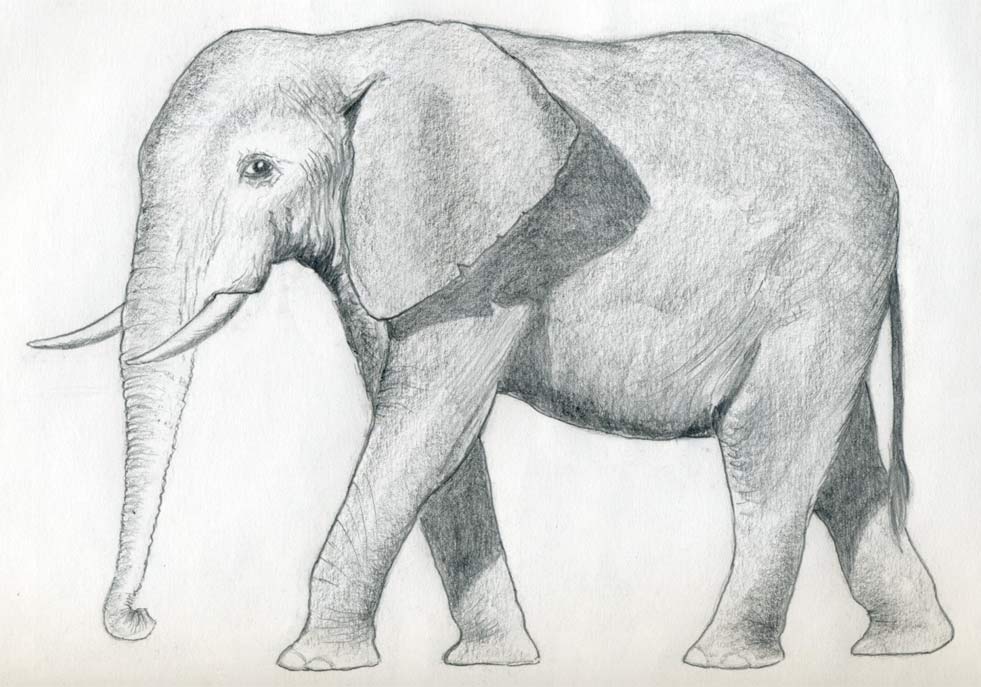
Let’s take a quick look at this elephant drawing.
Please keep in mind that it is a finished drawing. It may look like too complicated with its wrinkles, shades, etc.
Please ignore such details for now. We shall come back to these later during the drawing process.
Now just let me guide you and you’ll see to your own amazement that you can actually draw even better elephant than this one.
click the image to enlarge
You can print out this picture after enlargement and refer to it while drawing. I would however encourage you, to draw this elephant directly from your computer screen.
click the image to enlarge
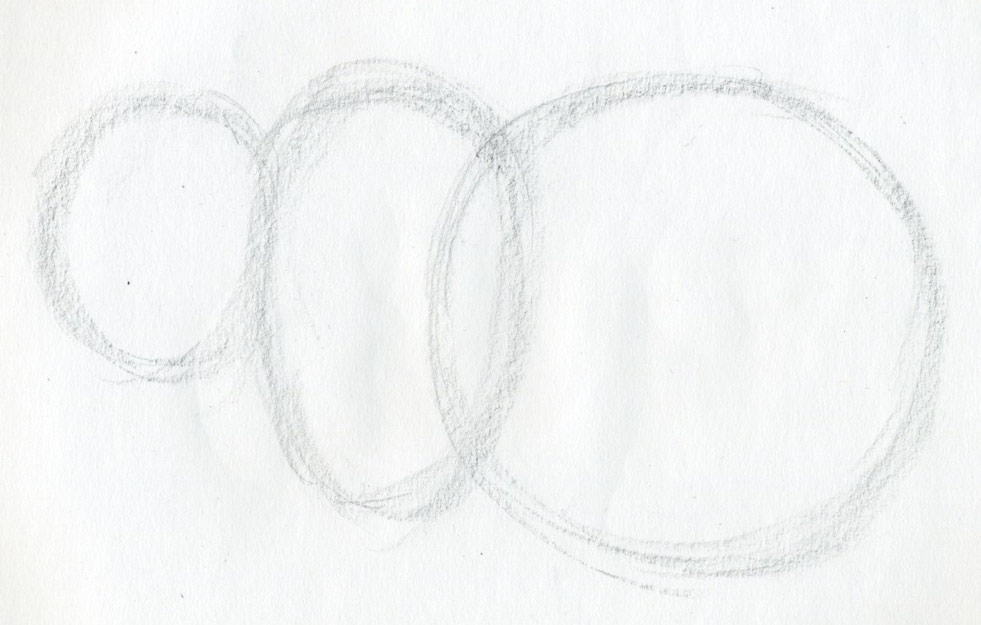
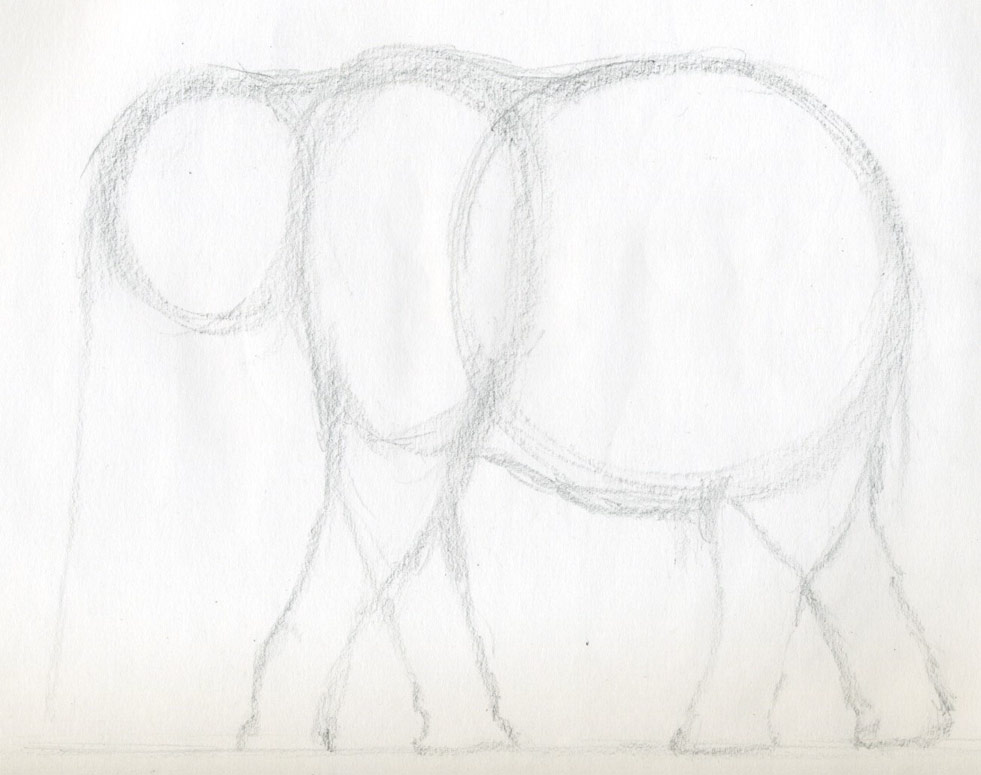
Before you begin to draw an elephant, I would like you to concentrate on 3 main parts of the body.Think of this elephant as a huge snowman consisting of 3 circles in horizontal position walking on four legs.
The only difference is that we will adjust the 3 circles that represent the body parts.
In your mind divide the elephant’s body into 3 main volumes. The biggest one is the belly, middle one is the part of elephant’s shoulders and the smallest one is the head.
Basically, when you capture these 3 volumes right, you’ve got the elephant’s body balance right.
click the image to enlarge
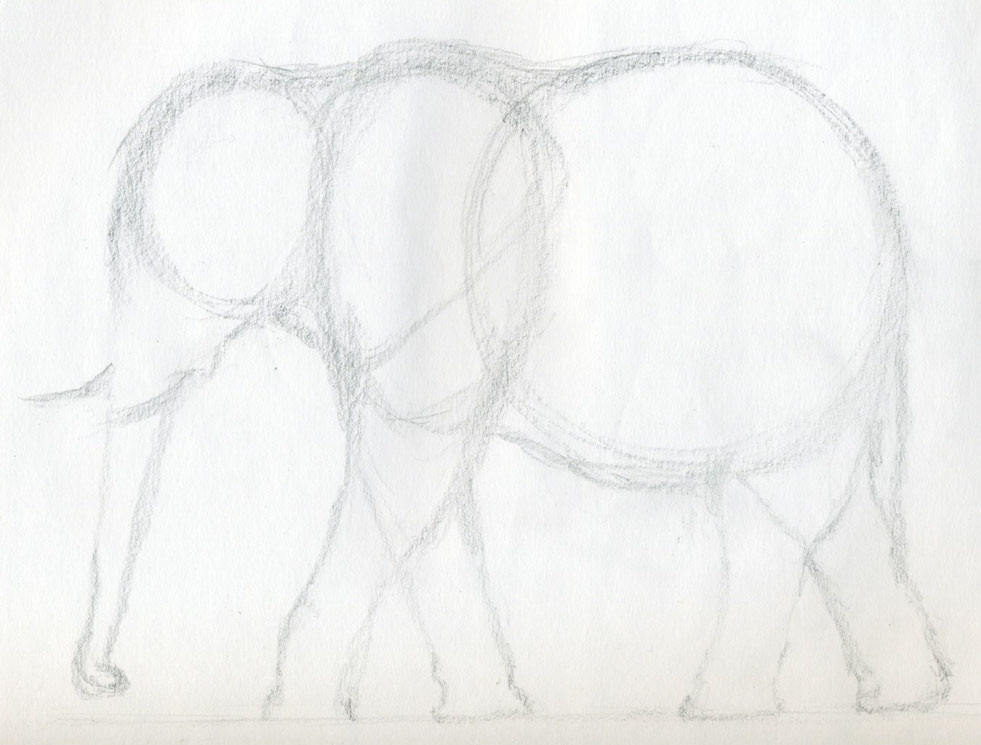
Basically, to draw an elephant is very simple, but it has a few tricky parts. Please observe the body well again. Compare the length of the legs to the rest of the body. Notice the angles of the legs while the animal walks.This is a dynamic picture which means that the elephant is walking. Elephant is in motion.
The front legs extend directly from the middle – shoulder ellipse. Draw the outline contours of all four legs.
click the image to enlarge
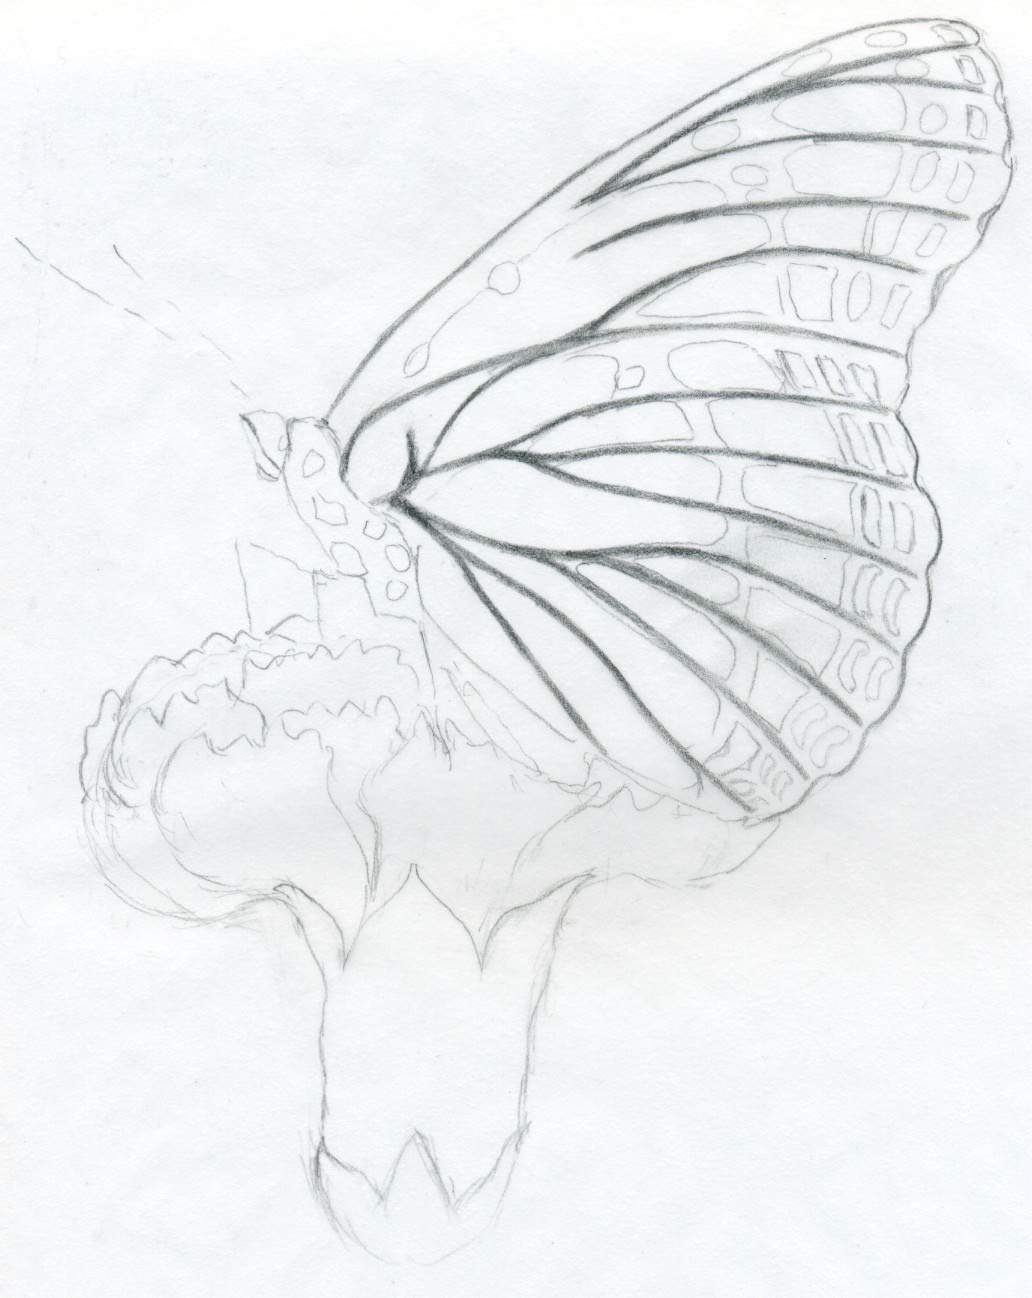
Outline the head with the trunk and tusks. Make a rough outline sketch of the ear (only one of the elephant’s ears is visible).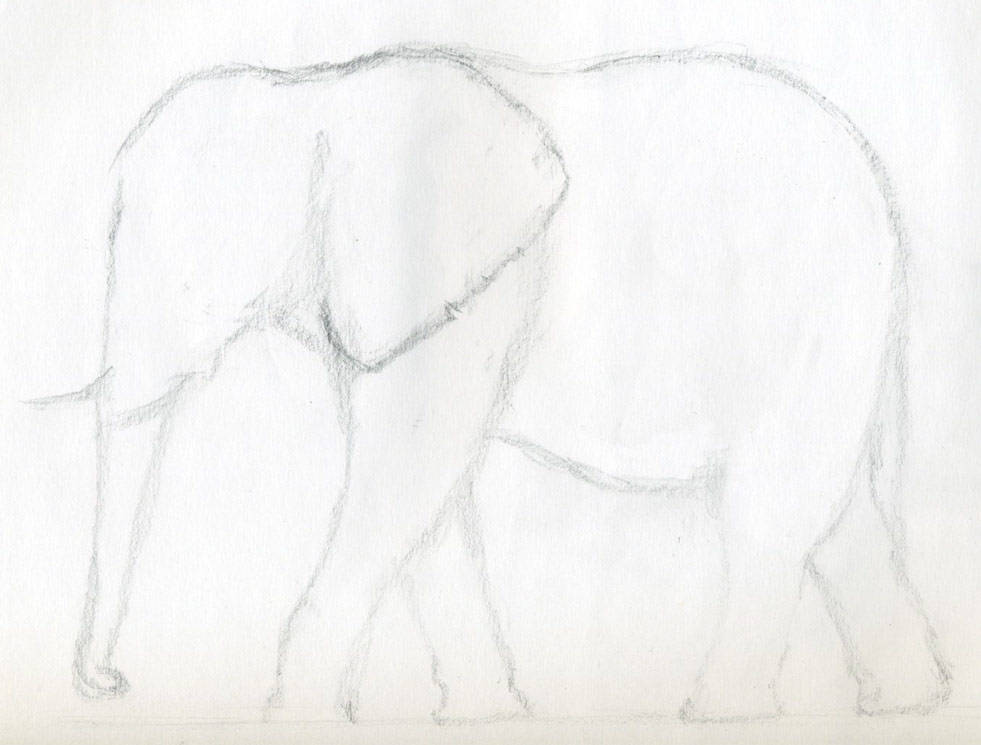
click the image to enlarge
Gradually start erasing the initial circles, ellipses and join each part of the body into a one whole unit.Do you realize that at this stage, you already know how to draw an elephant? You have almost perfect contours of an elephant’s body.
I say almost perfect, because there probably are some small details we are going to correct as we go.
click the image to enlarge
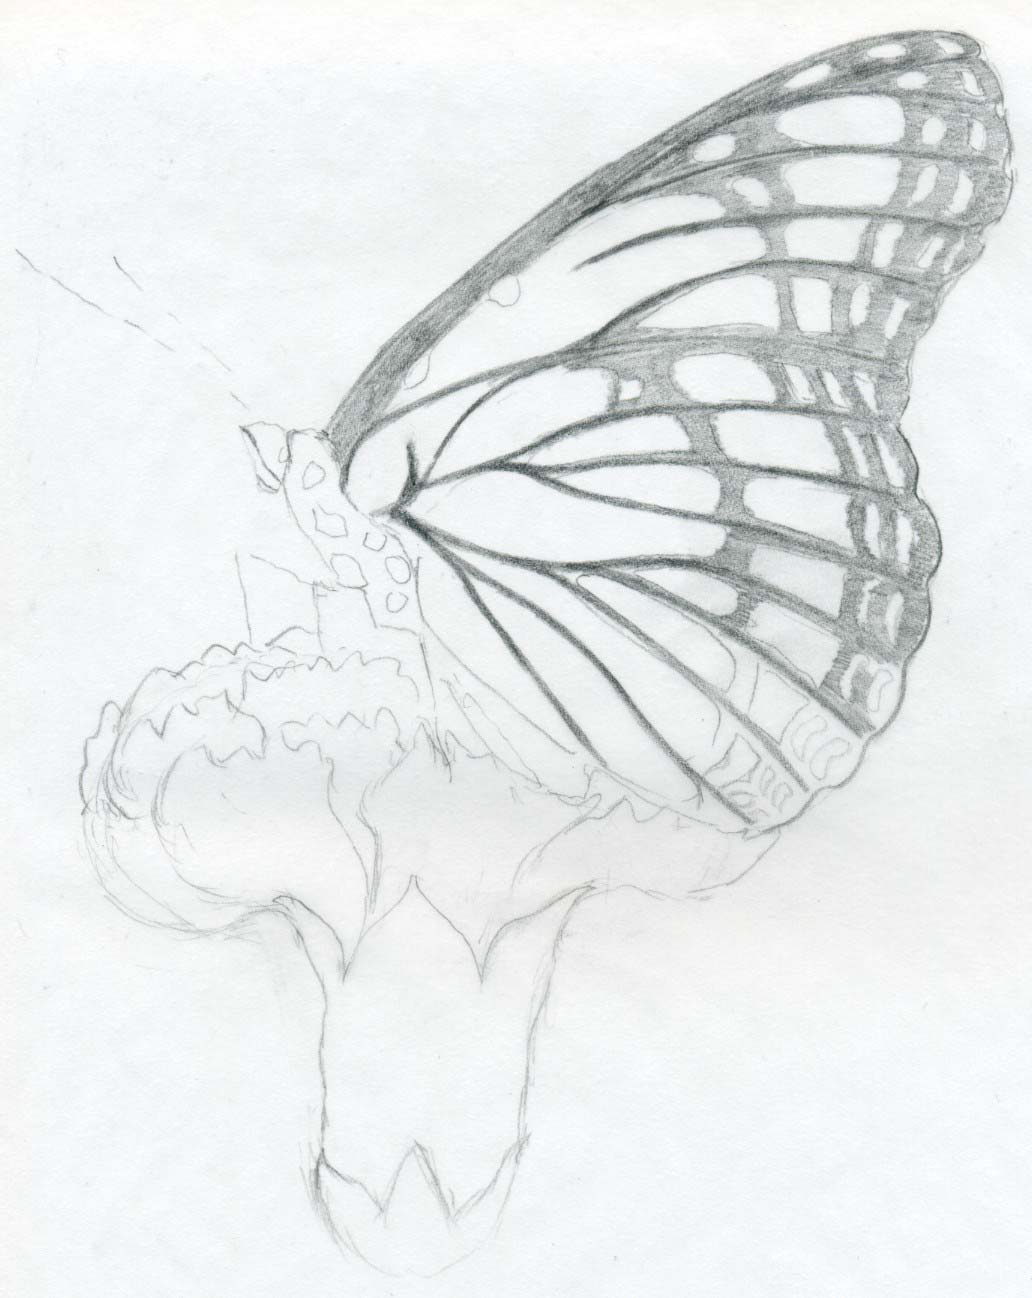
Gently refine the body contours and draw the tail. Before drawing the tail take a look at its length. Where does it come out of the body and where does it end? 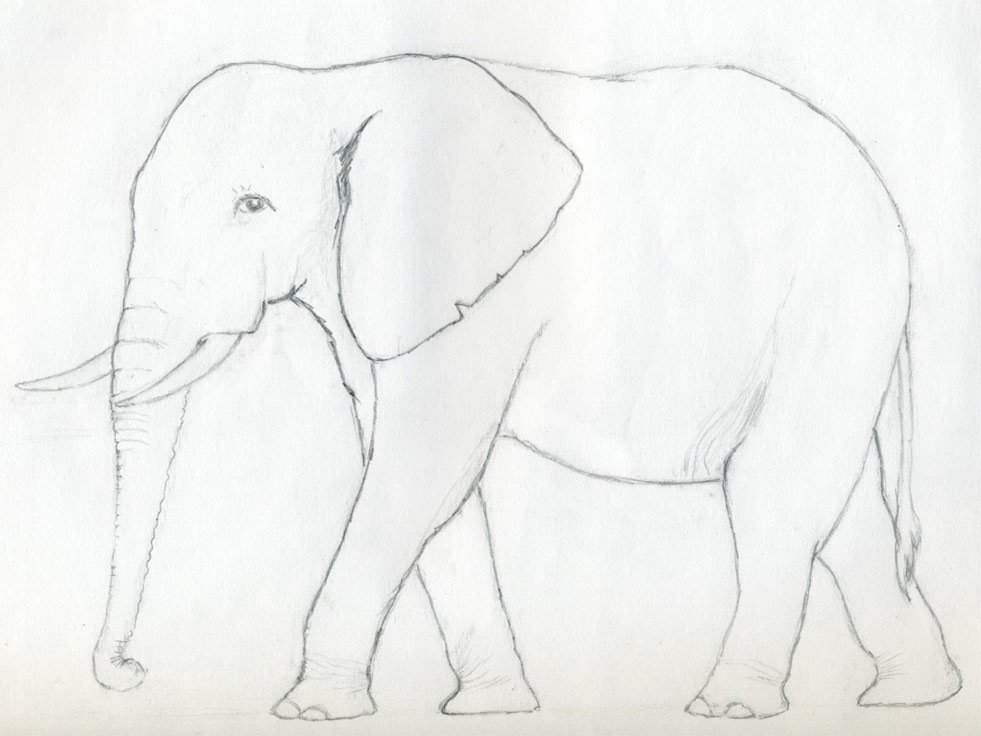
click the image to enlarge
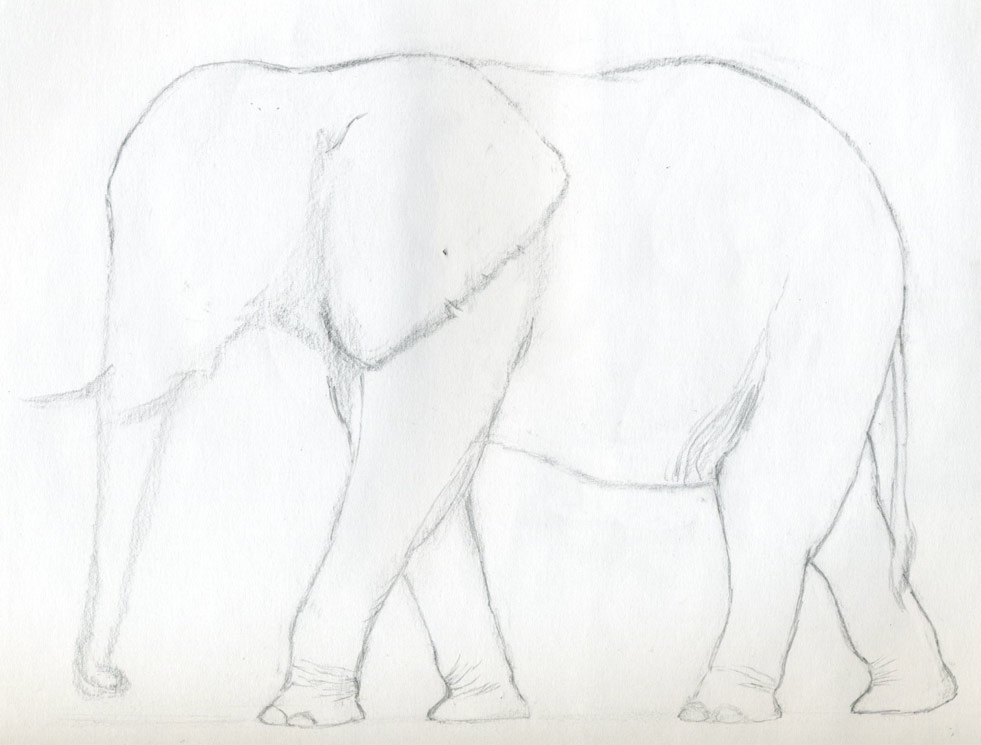
This is the stage where you should really draw the final body contours.If you observe carefully, you easily notice that I slightly moved up the place (height) where the tusks come out from the head.
I made this change in order to re-balance the size of the head to the rest of the body.
Add the elephant’s eye. Enlarge the picture and see how the eye looks like. While you draw the eye, please leave the small highlight on the eye pupil.
Every living thing has such reflection of light in its eyes and it looks more natural. The highlight creates that spark in animal’s sight. It is very important feature of elephant’s individuality.
You can also finish your drawing here if you want, copy your drawing and make it a coloring page.
click the image to enlarge
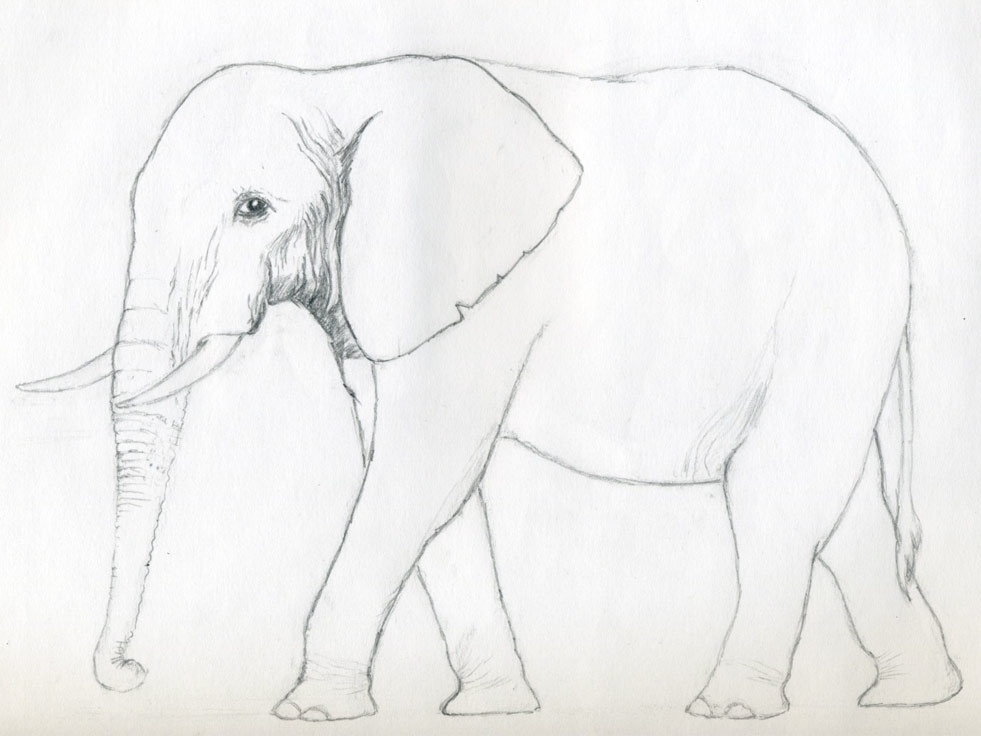
It is time to observe carefully the wrinkles on the body. This part is a bit sensitive, because the direction of wrinkles often determines how each body part is shaped. It is good to keep this in mind while you draw an elephant.It is not necessary to draw the wrinkles exactly as I did but you should direct them on your drawing roughly in similar directions.
Refer again to the readymade picture and sketch the body wrinkles.
If you encounter difficulties with wrinkles drawing, observe your own hand or stretched fingers and I think you’ll get the best idea. After all, we humans are animals too ;-) 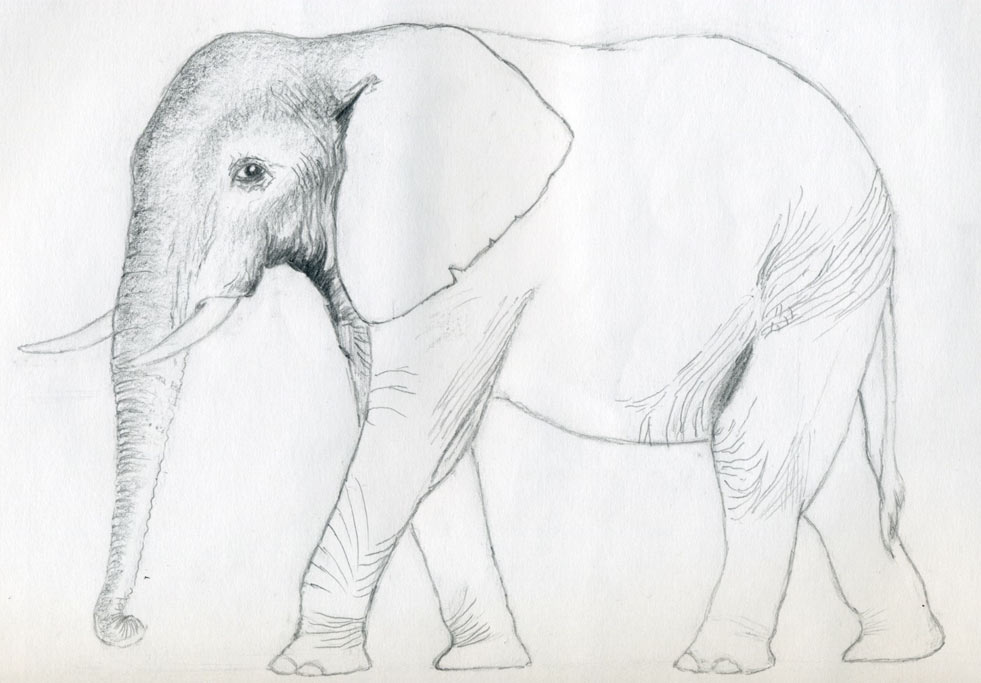
click the image to enlarge
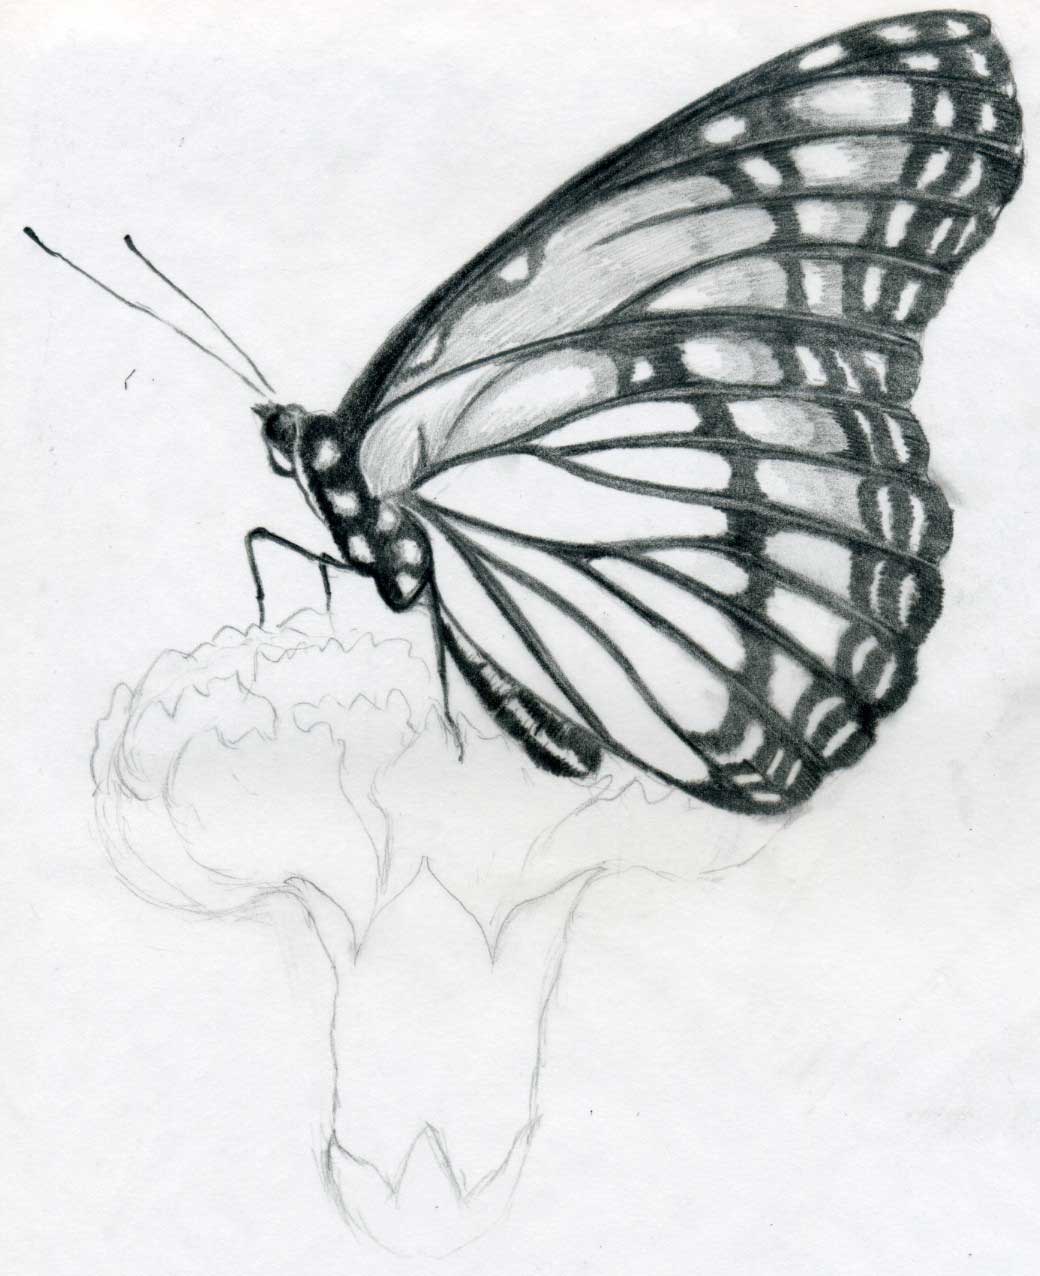
Now pay a bit more attention to the trunk. Elephant’s trunk is in fact a fusion of nose and upper lip – prolonged. It is in fact one of the most important body part.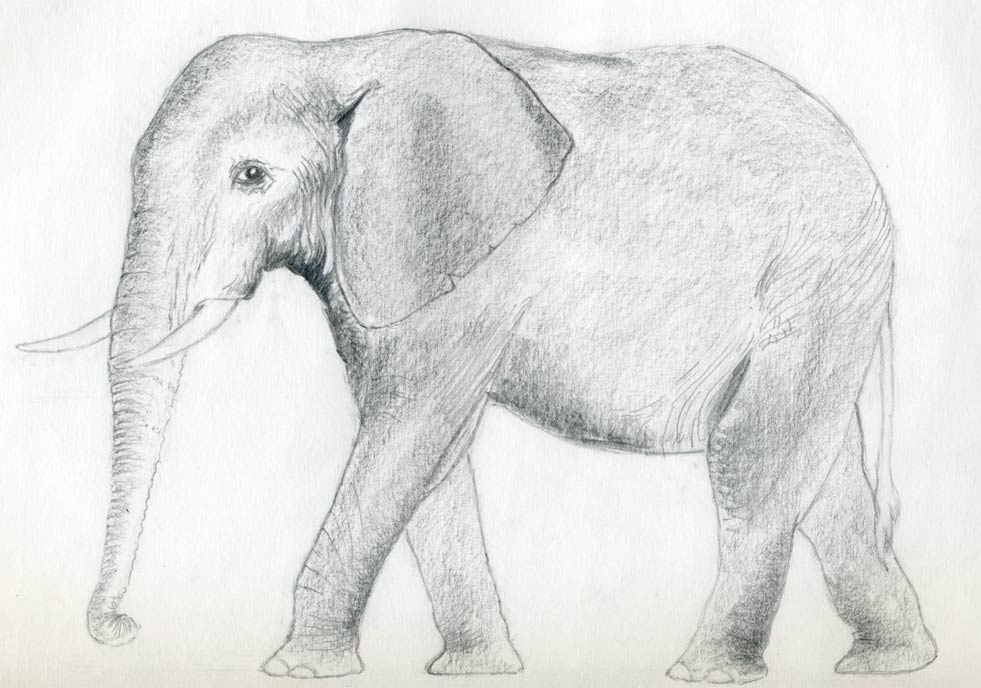
click the image to enlarge
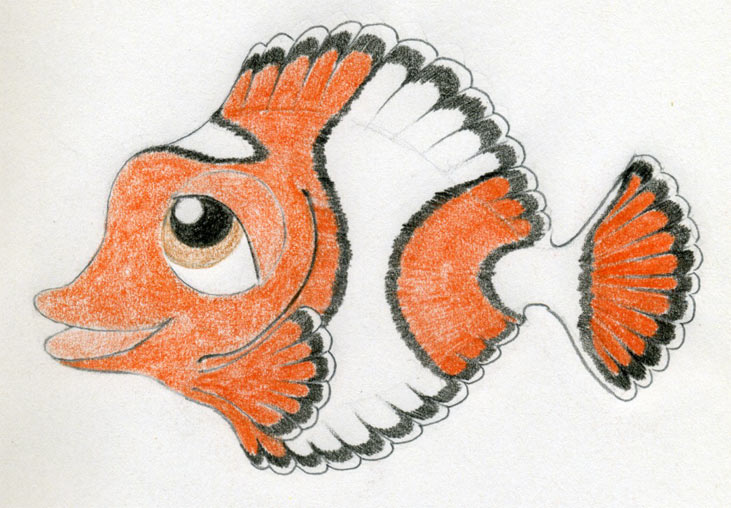
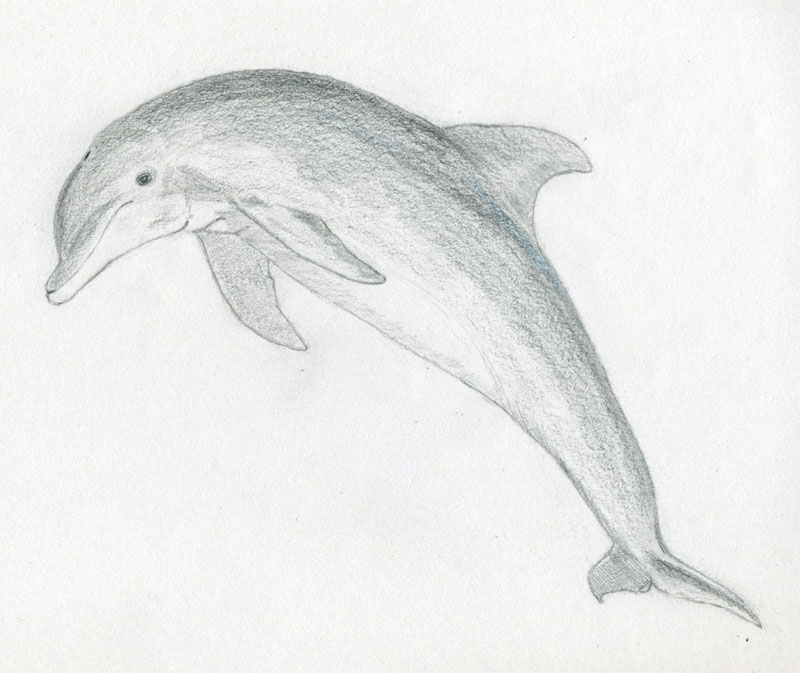
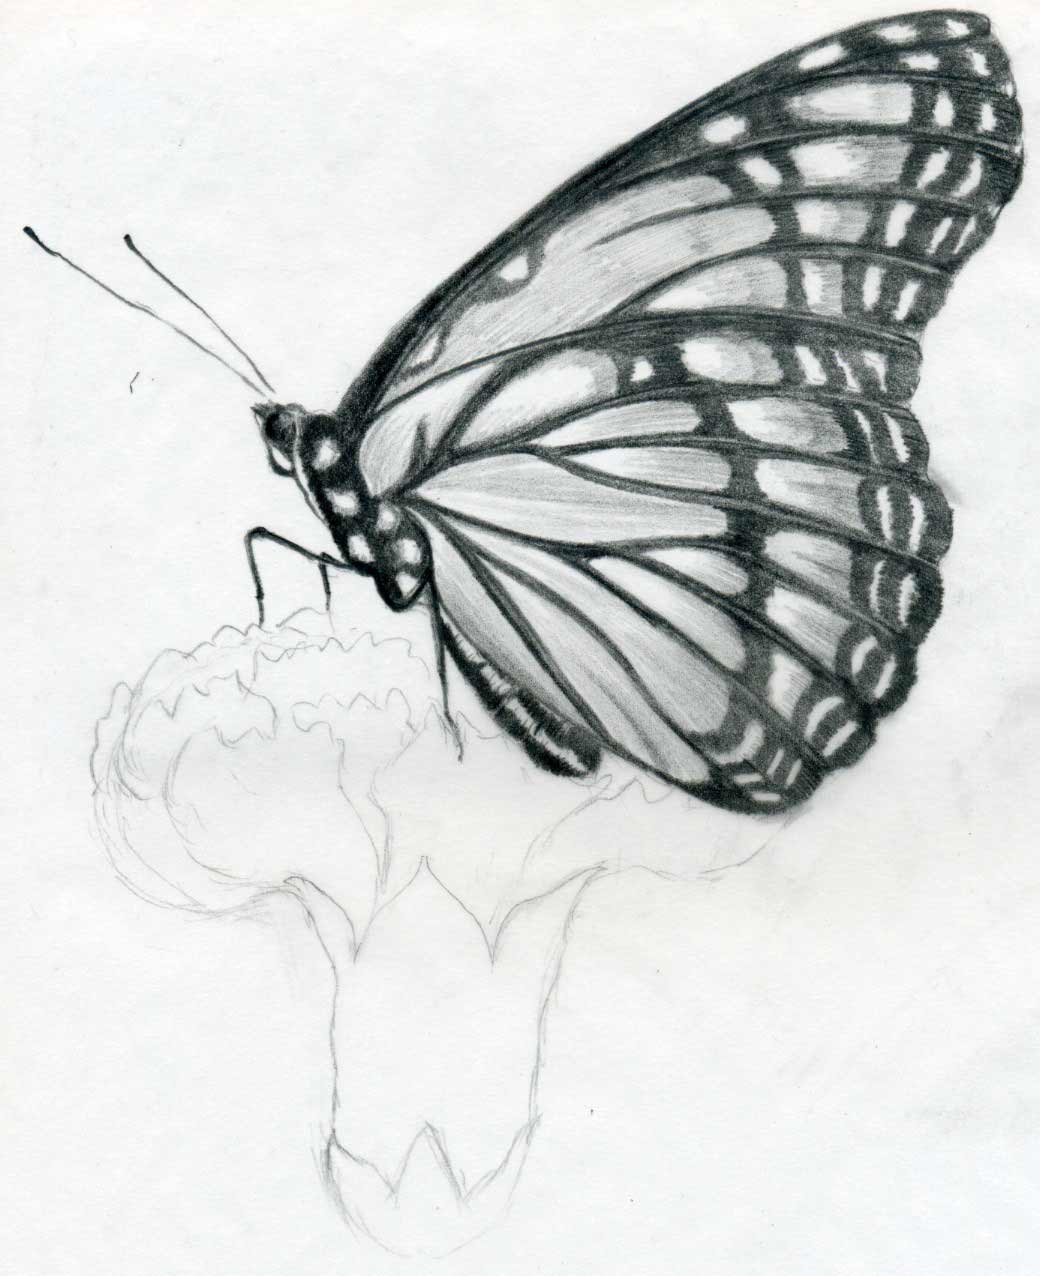
Begin to darken the body. Be gentle. Hold your pencil tilted in order to make wide and weak pencil strokes that will easily cover the body in gray.At the same time you can also put shades where applicable. Always refer to the readymade drawing.
click the image to enlarge
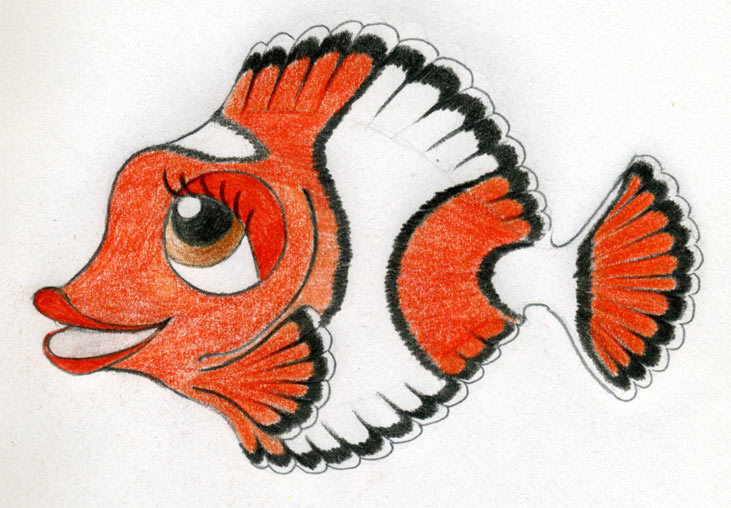
As the light comes diagonally from the upper left corner, it naturally cast shade on various parts of elephant’s body.Ear(s) shade is the largest and most visible. We also cannot forget about shades on elephant’s legs. Adding shades on any drawing gives it an instant plasticity. Shading gives the drawing a 3 dimensional look. I think your picture is ready at this moment and you gained enough confidence to draw an elephant - any elephant you choose. |